Social Commenting in IBM Web Content Manager

As far as WCM has come over the past few years, one of the capabilities that is still constantly requested and missing is the ability to easily add commenting on a content item.  We have a specific use case with a customer I’m working with now, only taking comments to the next level in that they’re looking for comments posted on a WCM content item to also be posted to a user’s social feed (i.e. Activity Stream).  The latest Social Rendering Templates (here) now provide CRUD capabilities, allowing users to not only consume social content, but also be able to engage with the social content.  One of the sample templates provided is for Forums / Topics, and the templates allow you to read, post / reply, delete and like forum topics and replies, which includes nested topic replies.  While playing around with the Forums / Topics template, I thought it would be a perfect fit for being able to extend this functionality to web content, which by the nature of it also being social content, would then be embedded into a user’s social feed.

The next step was figuring out how to make Forum / Topics specific to web content items so that the appropriate Forum Topic was shown based on the selected web content item.  Digging into the social rendering templates, I found how the List Rendering (i.e. part of the DDC framework) capability worked, so figured I could create a Forum for all WCM comments, and then there could be an associated Forum Topic for each content item in which a WCM content author wanted to allow comments for.   As a starting point, I took the Forums / Topics social rendering template example as a starting point and embedded it into a content item’s presentation template.  I then manually overrode the topic id so that it would show a forum topic specific to that id.  The next thing to do was to add a couple of fields to the authoring template for content type’s in which you’re looking to allow content.  In my example, I added two fields / elements, one is a checkbox that allows content authors to choose whether they want to allow comments for a content item, and the second is a simple text field that holds the topic ID (it would be hidden from the content author).  I also had to create a custom workflow action which programatically created the forum topic when a content item was published and then set the topic id on the content item, which then in turn would be used within the presentation template as described above to add the comments to the content item.

Here’s a summary of the necessary steps to get this to work: (at a high level)

  1. Manually create a Forum in Connections for WCM Comments
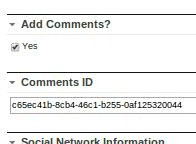
  2. Add the necessary elements (i.e. Add Comments?, Topic ID) to the WCM authoring template(s) of the content items in which you’re looking to add comments.
  3. Embed the Forums / Topics social rendering capabilities into the associated content’s presentation template(s).
  4. Create a custom WCM workflow action that programatically creates a Forum Topic (within the manually created WCM comments forum) when a content item is published.  The workflow also updates the content item with the topic / comment ID given the result from the programmatic creation of the Forum Topic.  I also added some logic to create a link to the WCM content item within the initial topic entry.

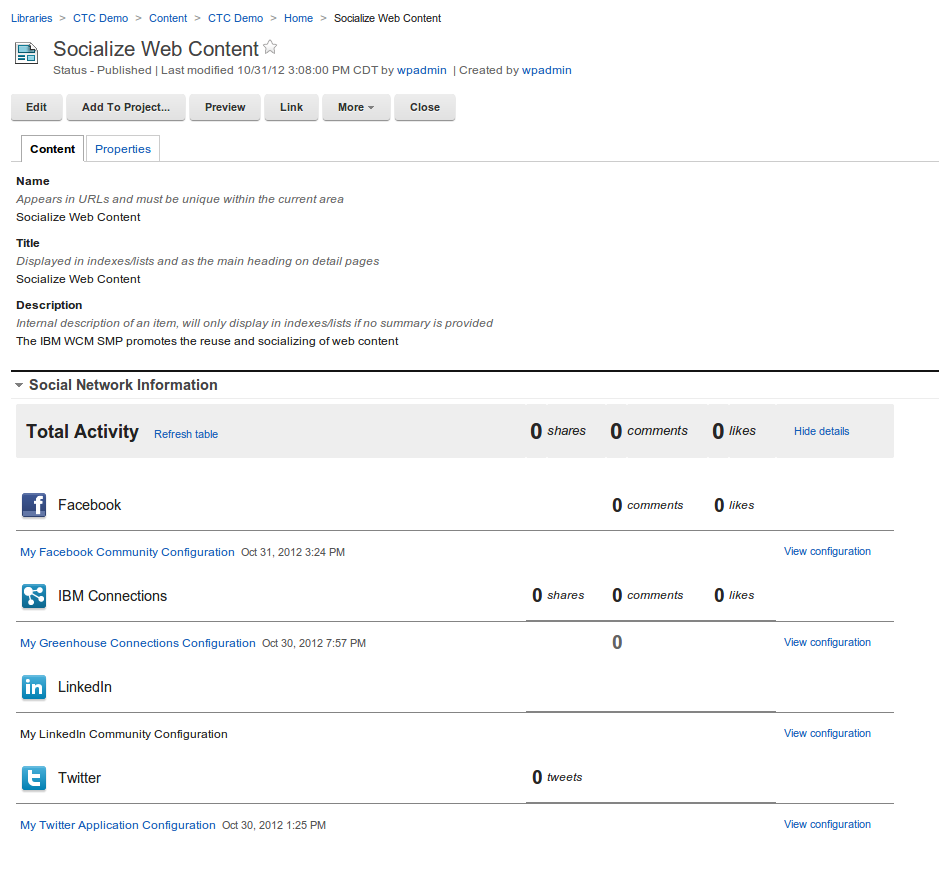
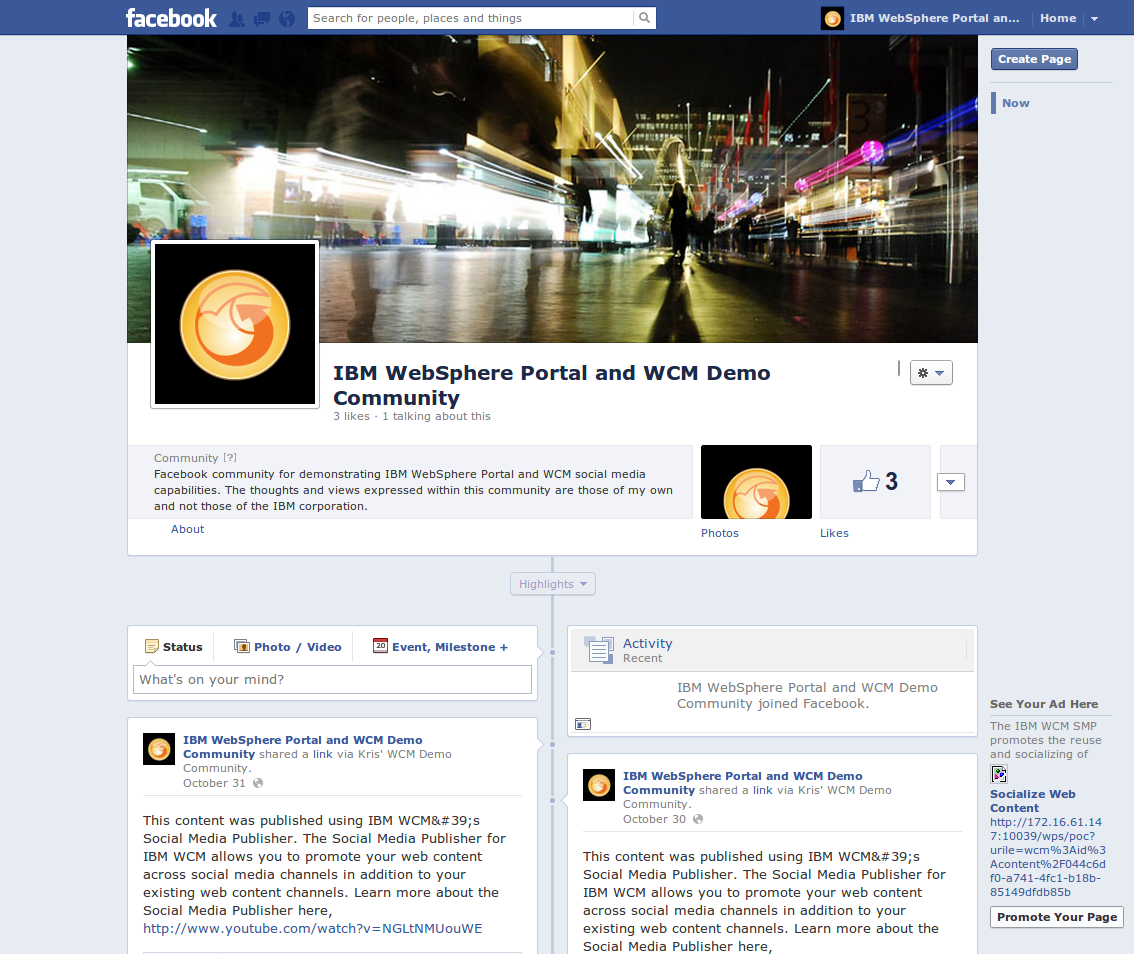
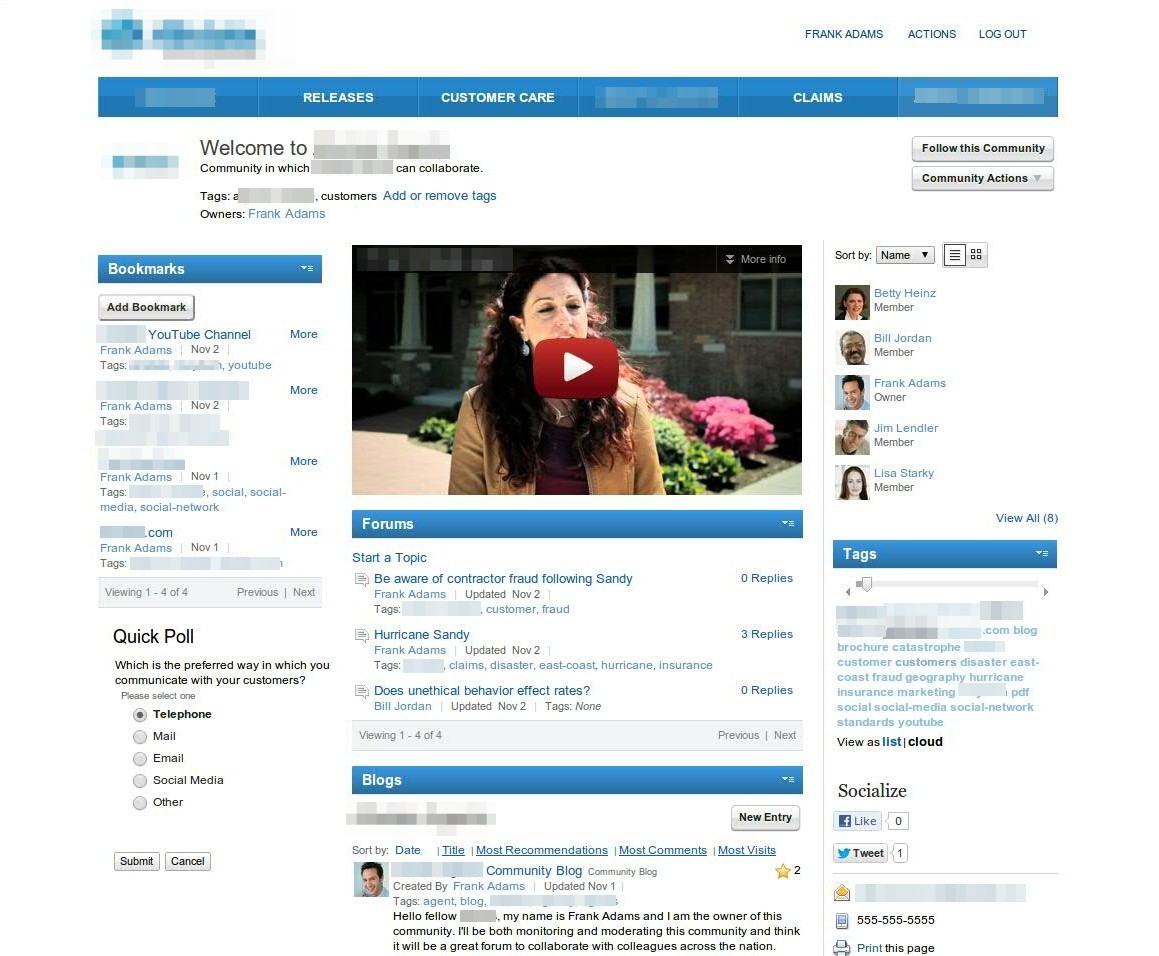
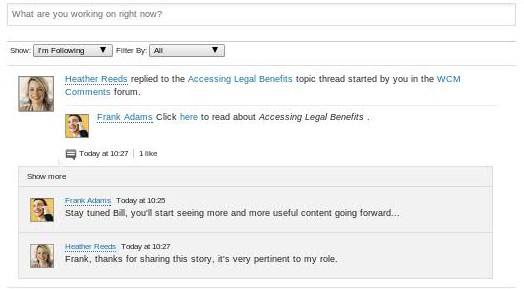
Here are some screen shots of the results:

Authoring Template Elements Screenshot Shot of Social Commenting Screenshot of Comments in Social Feed
comments-auth-template-upd content-item-with-comments-upd activity-stream-upd

I have working code, deployable as a PAA in which I’d be happy to share, let me know if you have any questions or would like to discuss this asset further…

IBM Web Content Manager Social Media Publisher

IBM WCM Social Media Publisher (which I will refer to as SMP throughout) allows you to post and view (social) statistics of WCM content in a number of social channels, namely Facebook, Twitter, LinkedIn and IBM Connections.  I figured I’d blog about and document the steps I took to get it working.  I doubt there is any difference based on what I will be discussing, but I figured it was worth mentioning that I used a beta version of SMP for WCM v8. Let’s get started…

After installing SMP, you will notice a new WCM Library (“Social Configuration”) was created during the installation. This library contains the necessary components that are used by SMP. Before we start creating the necessary SMP components, I would recommend going into the Credential Vault Administration (through Portal Administration) and create a vault slot for each social network that you plan on configuring so that they’re available when needed. To do this, I simply created new vault slots using the Default Credential Segment, and when doing so, name it accordingly, click the “Vault slot is shared” checkbox, and enter the social network credentials. I got a bit held up at this step, so it is worth mentioning that these credentials are NOT the same credentials you use to authenticate with the social network, rather, they’re typically referred to as API keys (or something of the sort), in which you typically have to go into the developers section of the social media site and create a site or page that is associated with your user id and there will be an API key and password for the site / page (click here to see the Facebook site I created for SMP testing, and “like” it while you’re at it!).  While in the Credential Vault Administration, also create an additional vault slot with the name “socialPostUser“, again using the Default Credential Segment, and as a shared vault slot, enter the user id and password of a WCM administrator (i.e. wpadmin – I document why this is required below). Once you have a Credential Vault Slot created for each of the social media sites that you would like to publish too, you can now create the configurations within the Social Configuration library added during the installation of SMP.

To create a Social Network Configuration document, go to the WCM authoring portlet and navigate to Social Configuration > Content > ConfigDocs and create a new content item using the Social Network Configuration authoring template.  Within the authoring template, first set the Name and Title of the configuration and the Site Domain (portal instance URL).  Next, choose the Social Network in which the configuration is related too along with the credential slot (configured above) associated with the social network being configured. A Connections server (URL) is also required if creating am IBM Connections social network configuration. Click the Authorize button and make sure the authorization was successful.  If so, you’ll see a list of inputs (which will differ depending on the social network) in which you’ll want to map an Element for each that tells SMP the associated authoring template field to use when posting to the associated social network.  To associate an authoring template, go to the Mapped Authoring Template(s) and select an authoring template.  Finally, you can also choose any other Additional Settings suggested within the Social Network Configuration authoring template.

The next step is another area in which I initially got stuck. As you recall, while creating the credential vault slots, I also suggested creating the “socialPostUser” vault slot. There is a custom workflow action within the Social Configuration WCM library that needs to be added to your workflow / stage in order to trigger the publishing of content to a social network.  This custom workflow action utilizes a credential vault with a name of socialPostUser (by default), hence the reason we created this vault slot above.  This valut slot can be named anything you wish, but again, by default, this is the vault slot name it looks for.  To change the name of the vault slot it looks for, the Social Configuration library also contains a Text Component (within Social Configuration > Components) named Global Settings Reference. This text component contains all of the configurable properties within SMP, you’ll see a property within this text component called “actions.post.credentialvault“, and this is where you would set the vault slot name of your choosing. Take a look at the other configurable properties while within this component and change any you wish while here (you’ll see by default, the entire text component is commented out, be sure to uncomment if you’re going to use this). Going back to the custom workflow action I mentioned, this step would only be required if you wanted content to be automatically published to a social network during a workflow stage change. For example, since I tested using the CTC, I went into the CTC Process Library > Workflow Items > Workflow Stages and within the Templated Publish Stage, I added the Social Configuration Library’s “Post to All” custom action to the Run on Entering Stage property.  This suggests that when a CTC content item that uses a SMP mapped authoring template is published, it will also publish the content to the configured social networks.  I will add that this is not the only way in which content can be published to a social network.  If you do not wish to automatically promote WCM content to a social network when it is published, ignore the step of adding the custom workflow stage to the workflow, and you’ll see when you go into a content item that was published using an SMP mapped authoring template, the content item will contain an element named Social Network Information that allows you to post to each of the individually configured social networks, including the ability to view analytics based information if this has also been configured.  Here is a screen shot of a content item containing the Social Network Information:
social-content
And here is a screen shot of this content published the the Facebook page I created: (the link is referenced above)
wcm-facebook

That is about all the configuration that I personally did to get SMP working. It works pretty well and demos even better. There are many more configurations possible and much more documentation within the Portal wiki that describes in further detail both the information that I’ve documented here as well as much more.  Finally, here is the link to the SMP documentation.

As always, feel free to reach out with any questions…

Community Pages in WebSphere Portal

Community pages are a great new feature within WebSphere Portal v8.x that allows you to bring the collaborative capabilities provided by IBM Connections into your WebSphere Portal environment.  The added benefit is that it allows you to add these collaborative capabilities in the context of other (portlet) applications, such as web content, forms, enterprise applications and/or any portlet application.  Once configured with IBM Connections, when creating a new Portal page, you have the option to associate that page with a Community within IBM Connections. After the page is created, when adding a Connections portlet to the page, it automatically recognizes the context of the Community (based on the Community association in which the page was created) and renders the appropriate Connections service-related content. The portlets currently available to be used with Community pages are the Activity Stream, Library, Profiles (i.e. members), Tags, Bookmarks, Forums, Blogs, Wikis and Activities.  You can also use social rendering portlets within a community page.

Here is a sample screen shot of a Community page from a recent demo I put together:

allstate-agent-community